Posts

Showing posts from 2014

Happy birthday Aurora

Image
The Memory Nest Make It Monday No.30 sketch was the inspiration for this layout.  The added twist was to use stamping on the background.  This is another mixed media background that I completed recently, I was not really impressed with my efforts - it used distress inks, paper, acrylic paint, masking with spray mists and yes - it had some stamping on it!!!!  Excellent just right for this layout - so glad I did not toss this one!!! Aurora is the daughter of friends and she recently turned one and I was invited to her birthday celebration at a riverside park.   Now, we of course are not wearing co-ordinating clothing, so I added some cotton lace to matting to tie the two main colours in.  I am reminded of many years ago when cottage craft was all the go (I even taught a class in this) and we made padded photo frames.  I have hand drawn the hearts and some doodling around the edges.   Some Washi Tape and brads sprinkled around for extra ...

Breakthrough sculpture-Winston Churchill Museum-Fulton, MO, USA

Image
One of the most interesting finds of my holiday in USA this year was the Winston Churchill Museum, in Fulton, Missouri.   Located in grounds of the Museum was this sculpture called Breakthrough Sculpture. The artist was Edwina Sandys, a granddaughter of Winston Churchill. From the Winston Churchill Museum website : "One year after the November 9, 1989, fall of the Berlin Wall, artist Edwina Sandys, granddaughter of Winston Churchill, introduced her "Breakthrough" sculpture to a crowd of 7,000 people gathered on the campus of Westminster College. The 11-foot-high by 32-foot-long structure, perhaps the most important monument to be constructed on American soil since the Vietnam War Memorial, began as a dream in the mind of its sculptor." The sculpture comprises 8 pieces of the Berlin Wall.  Read more about it and why there is a Winston Churchill Museum in the USA. My layout was inspired by Make it Monday 29 at The Memory Nest and it had the added criteria of m...

Peggy's Cove

Image
I just don't like Peggy's Cove - I LOVE IT!!!  Now one of my favourite places in the world. This layout was inspired by a layout by Laura Vegas  here is my take on her beautiful creation.  There are 2 pockets just waiting to be filled with more bits and pieces.  I love that it is a layout than can take multiple photo's.  If you check out Laura's layout she used 8 photos where I have used the 4 photos. Thank you Laura for your inspiration.   Thank you for looking, Margaret :)

# How to eat a lobster - Shediac Bay cruise style!!!

Image
On 22nd June our Trafalgar group headed to Shediac Bay on Prince Edward Island for a cruise, explanation of how lobsters are farmed, and then lunch.   Now this was the first time I had ever eaten lobster..... Scrapbook Challenges Layout  417 was ideal for this series of photographs.  I loved the layout so I much that I did indeed make a double layout. This was a day full of smiling and laughter and every time I remember this day it brings a smile to my face.  I have used all Stampin' Up! (r) Maritime Designer Series Paper. I love how the colours just match the photographs. The following two photographs show the individuals layouts more closely - I think me eating lobster is all about my hands,my eyes and my expressions. Truth time, I did not like lobster!!!!   I know what the!!! At least I tried it!!!!

How cute are these!!!!

Image
As quick Christmas tag made with scraps that I had on hand.  Whoops, need to sand those edges on the buttons on the next one.....punch obviously needs sharpening.     

4 "G's" - Gesso, Gelatos, Glimmer and Guts.

Image
I have been trying to get mixed media into more of my work. Hence the "Guts" reference in the title.   I am a novice and I have relied a lot on checking out videos, blogs, websites etc to get my brain around working in this different style. Yesterday, I came across a video by Ashley Calder  which she calls messy painting.  I just had to have a try and here is my result: What is not entirely obvious in my photo is that I used old book pages as suggested by Ashley in her video - I think my book was not old enough to transfer the ink onto applied gesso. Here is a close up: I have also used Huey's Chevron Mask (used residue of old gelato for this) and Crafters Workshop Mini Houndstooth template (used impasto).   I am pleased with the result and even though there are things I could probably have done better, at least I had the guts to have a go..... Now to create a page with my efforts.   Thanks for looking,   Margaret :)

This was really a challenge.

Image
Another layout I completed today.  Again using a sketch from Scrapbook Challenges.  This sketch was a bit more left of field than others and I have challenged myself enormously to get this completed. I wanted to use the background paper and this became my source for the colours used.  I have so many photos of my USA holiday in May/June that I try to get layouts that enable me to use more than 1 photo.  Anyway, here is the sketch: I hope I have done the sketch justice.  Margaret :)

Opera in the Arboretum

Image
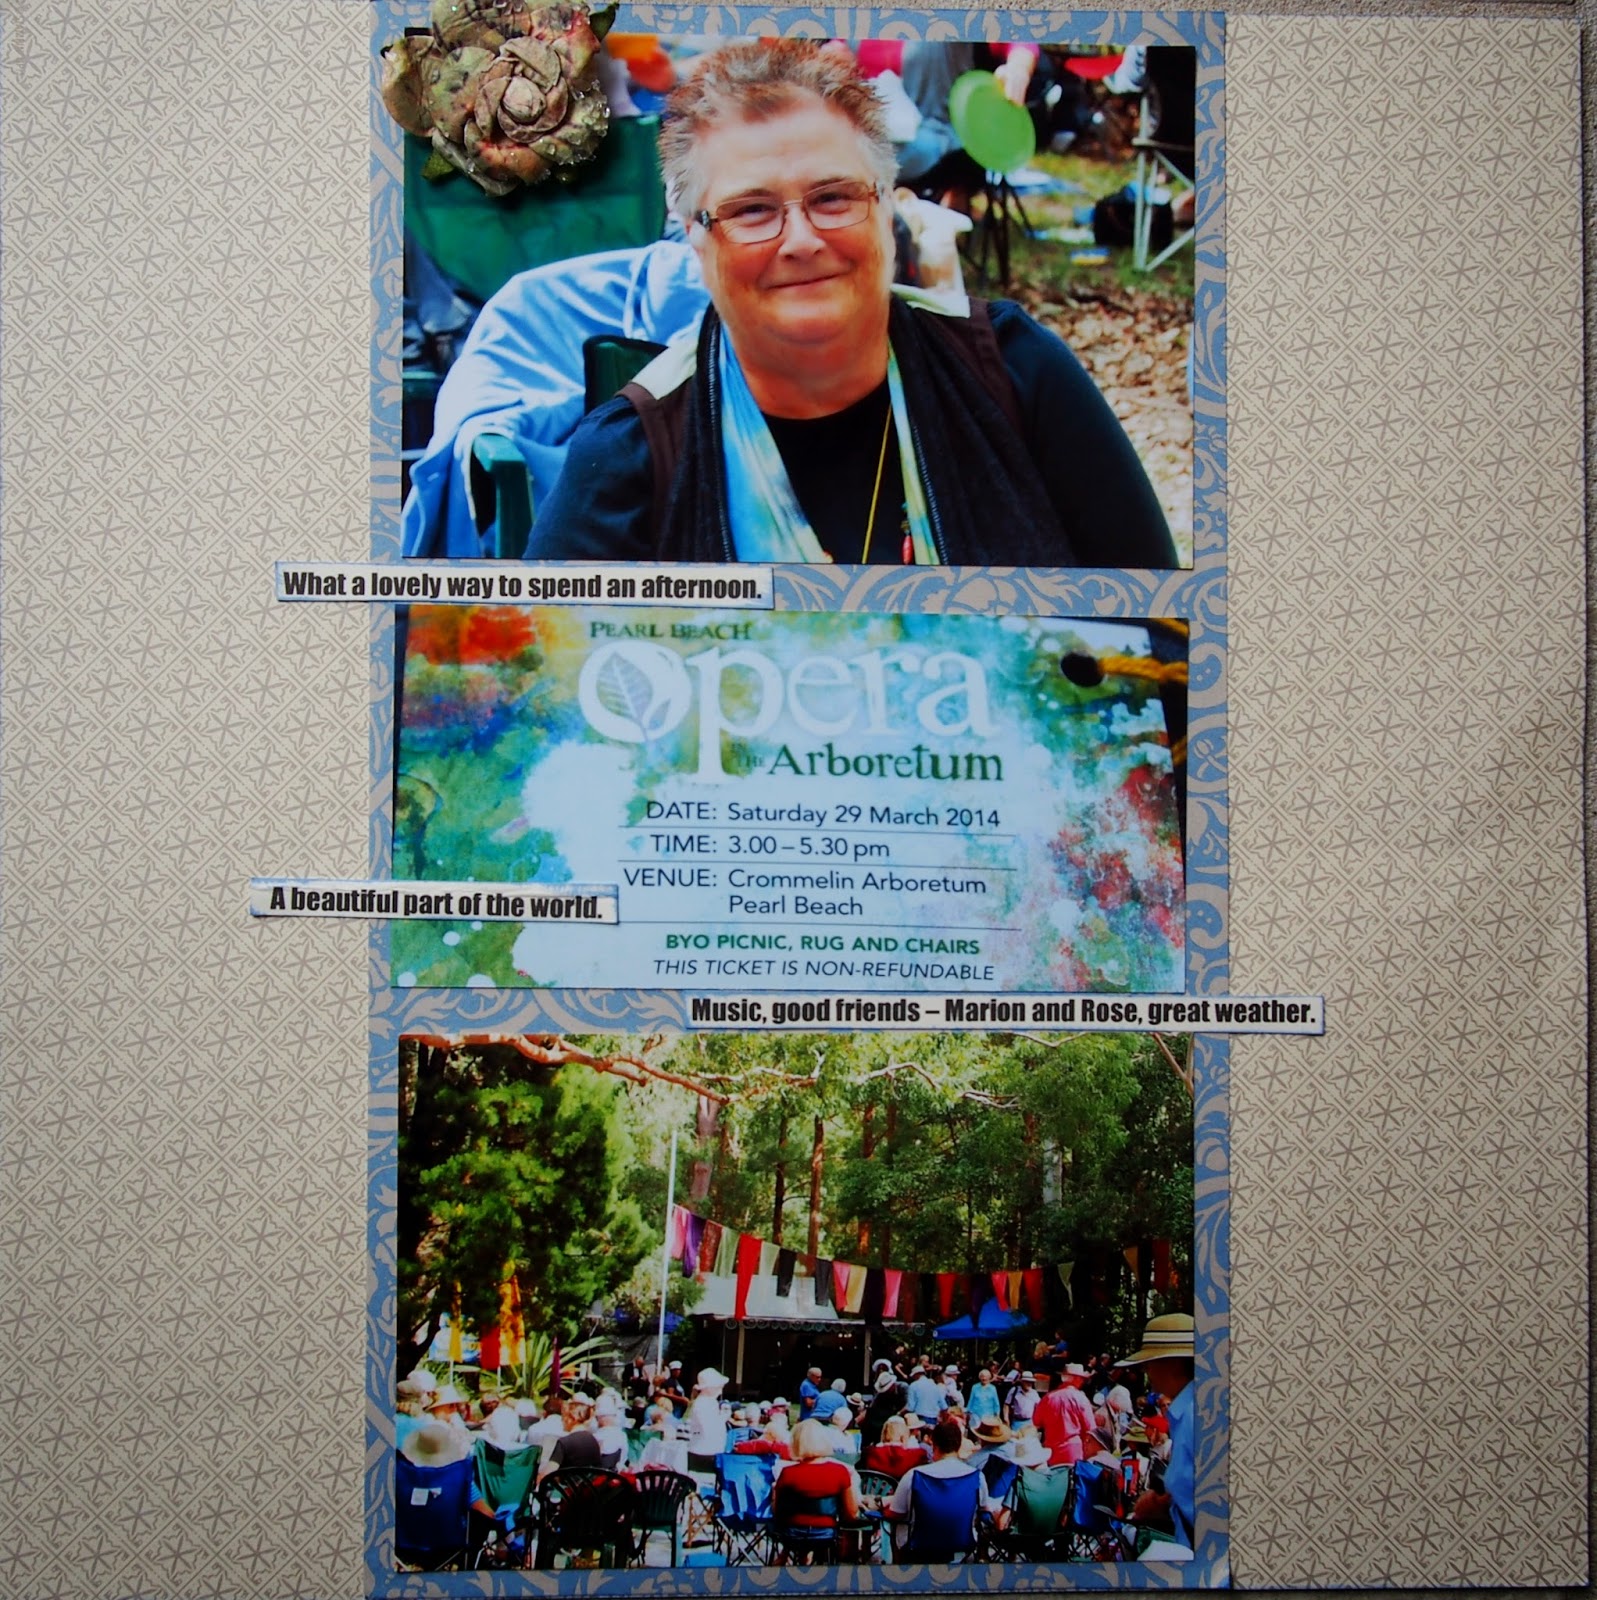
On 29th March, this year I went with friends - Marion and her granddaughter Rose, to Opera in the Arboretum, Pearl Beach, NSW.   Now I am not the biggest opera fan in the world but this was a great outdoor concert and a lovely way to spend an afternoon.  I was inspired by this sketch at Scrapbook Challenges :  My photograph of the ticket we each received and had to wear made just the right journaling block for this layout.   The flower at the top was necessary - I had half a man's face in my photo - scary!!! I liked this sketch a lot and may just turn around this afternoon and make more layouts - so many photos yet to get down on paper. Thanks for looking,   Margaret  :)  

Starburst cards from scraps

Image
I have made a lot of projects over this past weekend using papers from Stampin'Up! (r) In colour 2013-2015 Designer Paper Stack and I had a lot of scraps left over.   I found whilst blog surfing (if I remember I clicked "Next Blog" and the blog of Sharon Cheng , an SU demonstrator from US, came up and she had a tutorial on how she made starburst cards.   I have seen this type of card before and I thought "yes- that is what I need for my leftover paper".     So following Sharon's excellent video I made 4 cards this morning.   Now a word of warning - do not make with these papers if you have a migraine - as I had this morning - strobing etc.  But nevertheless I persisted and whilst if you look there may be some slight positioning I am not worried as the sun never shines perfectly does it? A bon voyage card.  Stamp Sets - The Open Sea and Remember This. Stamp Set Let Your Hair Down provides greetings for this card above a...

Down into Devil's Ice Box I went -> -> ->

Image
I decided to do a companion page for my layout yesterday.   I used a sketch from The Memory Nest  Make it Monday No 26.  I have used all Stampin'Up! (r) product on the page with the exception of alphas.   The final photo on the page is not me raising my hands in joy - I am actually touching the rock ledge above my head.  I inked the edges to try and give the impression of being in the cave....  Here are the two layouts together. I have kept continuity with the colours, papers, sponging and stamps I have used.   The cut-off from the scallop punch I used to draw the eye down the second layout. It is a beautiful day here on The Central Coast, I have been for my beach walk and a cup of tea and banana bread afterward at beach café, washing is all done and in the sun and I am inspired to do more scrapping today.   Thanks for looking,  Margaret

Another take on the Inksomanics sketch

Image
Inspired by the sketch in my previous post, today, I decided to turn the sketch into a scrapbook layout. This is a simple layout easy for anyone to recreate.   All supplies are Stampin'Up! (r), I have used Baked Brown Sugar (BBS) and Hello Honey papers and inks.  The edges have been sponged with BBS ink.  Stamp sets used are Draw the Line and Remember This. This photo was taken at the end of our walk into Devil's Icebox Cave near Colombia, Missouri, USA. I really think I was standing in a ditch as the sign makes me look so small!!! Thank you for looking,  Margaret

INKsomniacs Challenge Card

Image
These are a few of my favourite things - Strawberry Slush/Old Olive cardstock and inks, Wonderous Wreath stamp and die set, and scallop punch.  All supplies Stampin'Up! (r). This card was created for a challenge for Inksomniacs group. A little bit of history - I have never ever had success with word dies - I don't know how many I ruined or how many cards ended up with more glue on them than they should have.  Took it slowly this time! I going to have more play with this sketch - stay tuned, as they say.   Thanks for looking,  Margaret :)

I have never.....................

Image
I have never bungy jumped or jumped out of a plane but that is not the theme of the monthly challenge over at Jennibellie Journal Workshops.  The challenge given was and I quote "What have you never created with? What techniques have you never tested? What thing have you never got around to creating that you want to?"   I have never created my own paper buttons. Here are my jewels I created...... I recently started on Jennibellie's  Inspirational Station series. One of the first inspirational videos on how to create your own buttons from material that you would normally throw away - in my case it was corrugated paper from a box I received some goodies in and also scrap cardstock.  Some silver tissue paper that I had in the cupboard, inks, masks and some very old Mod Podge (It took ages to open that sucker of a lid) and even older Dimensional Magic. I played around with different types of inks.   It seems that most of the work I did with m...

Playing with Feathers!!!

Image
 No, I have not been out plucking chickens, turkeys, pigeons or any other feathered friends - I have been playing with Stampin'Up! (r) stamp set and die - 4 Feathers.  I found this technique, by Louise Beerens, on Feeling Sketchy blog.  It is called inlay die-cut.   I have also used Work of Art stamp set and ink colours Strawberry Slush, Coastal Cabana, Baked Brown Sugar and Stazon black ink.  To give the raised inlay effect I have used Vanilla Coaster Board (you could use a few layers of papers stuck together) and I got out my Crystal Effects that have lain idle for many a day.   This is a close-up of inlaid feather. These cards are my creative process to get to the design I loved - with the stamped feather as the focal point. Thank you Louise for your inspiration.   Have a great week everyone.   Margaret :)

Christmas inspiration

Image
I have seen versions of this type of card on Pinterest and Facebook and so I went in search of some instructions.  I just so happened that I wanted to make some cards with the new Wonderous Wreath stamp set and dies from  (SU) Stampin'Up! (r).   I want to thank Linda Bauwin, a SU demonstrator from USA,  who delightfully calls herself a card-iologist, for a great You Tube video.  Linda calls this type of card peek-a-boo as when you open it the greeting is under the wreath. I have gone for blues (Lost Lagoon and discontinued Baja Breeze) and silver for my card.   I have silver embossed the berries.  Today is the first day of daylight savings here in New South Wales, Australia - bring on summer. Thank you for looking.  Put a little sparkle in your day.   Margaret :)

Smile - just in time to submit to The Memory Nest.

Image
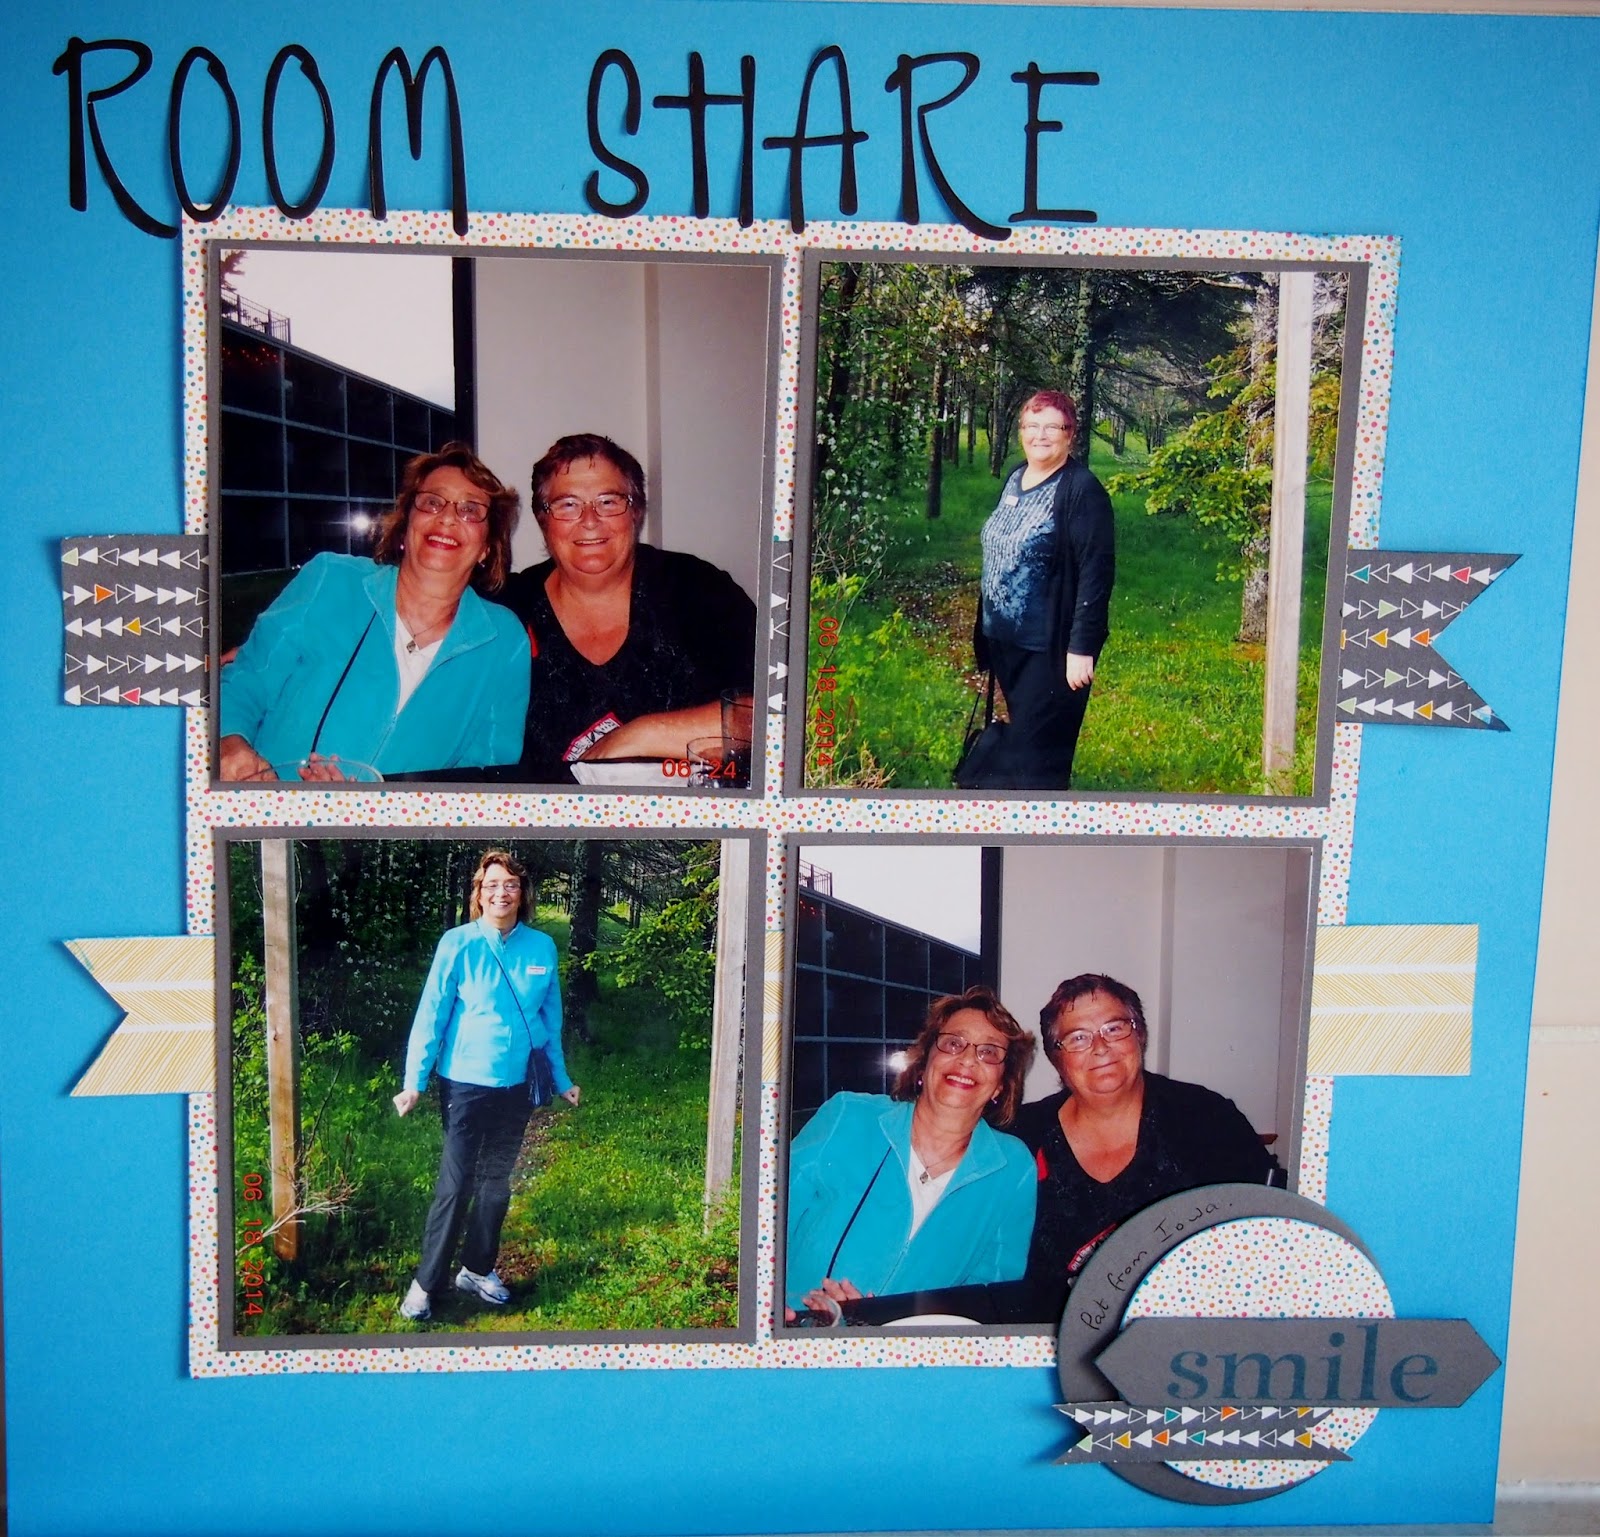
When I travel on package tours I rarely take the single supplement and take the room share option.   Over the years I have had many room shares, however I must say on my Trafalgar Tour-Enchanting Maritimes that Pat from Iowa was one of the best.  She was friendly, loved a laugh and not at all a bother.  She sent me these photos.  I used this sketch from The Memory Nest  and all supplies excepting the title stickers are from Stampin'Up! (r).  The patterned paper is from Confetti Designer Series Paper, Coastal Cabana cardstock.  The photo does not show that I inked all the edges of the papers to give definition. "Smile" came from a retired set called Happy Day. Thanks for a great sketch - it really suited my style of scrapbooking.  Clean and simple with emphasis on the photos.   Having said that I like to get out of my comfort zone, so stayed tuned for more layouts shortly. Have a great day, thank you f...

Snowman on a hot Australian day.....melted!!!

Image
I have seen this card on many blogs, pinterest etc and so I decided to sit down and make one.  It is a very hot spring day here in Sydney - they are expecting temperatures in the 33c range for much of the week.  My sister looked at the card and said it showed snowman looking down on it but I say melted snowman!!! Yesterday, my brother and sister-in-law were here and we took the Ettalong to Palm Beach Ferry and return. Look at the beautiful colours of the water near Palm Beach Ferry wharf.  So beautiful. Keep cool and thank you for looking, Margaret

Awesomeness to the max!

Image
Another layout from a sketch (number 101) at   Feeling Sketchy that got my creative juices flowing. My photograph of the lighthouse was taken at Peggy's Cove in Halifax, Canada. I printed it 8" x 5". The Atlantic Ocean was very blue this day. I loved this place so much and I spent lots of time walking over the ice-age rocks called "erratics".  A lone piper stands to the bottom right and I can tell you his bagpipe playing just added to the awesomeness of this place. The layout uses Stampin' Up! (r) products - Maritime designer series paper, Essential Wooden elements and some retired black twine. Thank you for looking.  Margaret

5000 Poppies Project

Image
Have you heard about the 5000 Poppies project - A community project of respect and remembrance. You can read all about it on their website here  .   And I quote from there: "From its association with poppies flowering in the spring of 1915 on the battlefields of Belgium, France and Gallipoli, the poppy has become a symbol of both great loss in war and hope for those left behind. As part of the 2015 Anzac Commemoration, the 5000 Poppies project will be “planting” a field of more than 25000 (probably more like around 50,000) poppies in Fed Square Melbourne as a stunning visual tribute to Australian servicemen and women for more than a century of service in all wars, conflicts and peacekeeping operations." I heard about it from a friend who crocheted some poppies, and so I got out my knitting needles and knitted some.  I sent them off today and I am pleased that they will be part of the display. One other was sent with those from another group that also made popp...

Cards, cards, cards.

Image
I have been busy designing cards for classes I have been leading at two community groups over the past two weeks.   Here are just a sample of some of the cards created. Several of the ladies in one of the groups are elderly and have trouble with their hands so I kept the cards quite simple - I pre-cut the shapes prior to the class. These cards are an adaptation of cards in previous post - I substituted the Impasto (as it would take too long to dry in a 2 hour time-frame) and went with random misting and misting using Stampin'Up! (SU)  stencils - stars and stripes.  The stars I die cut from Sizzix Framelits and the squares from Spellbinders Nestabilities.  This card was one of many made by participants in one of the classes for donation to Australian Troops overseas. This card design is an adaption of technique called 'pressed flower' that I found whilst blog surfing one wet afternoon.   It is great as it can use scraps of paper. ...

I love a new technique - thanks Spellbinders

Image
Don't you just love finding new techniques?  I do and last night I found this great technique over on the Spellbinders Blog .  Now today the sun is shining brightly in Sydney and it was difficult to photo - these cards actually have a lot of shimmer and shine. I have recently become attached to idea of mixed media work in my scrapbook layouts and these cards are certainly meeting some of the criteria for mixed media.  Technique: 1. Scrape a layer of Impasto onto the card and spritz with shimmer Smooch Spritz. I used a red and silver as I had in mind making Christmas cards. 2. Let this dry - for me it was overnight 3. Using Spellbinders Nestabilities square die and Sizzlet star die cut out shapes from paper in 3 sizes.  4. Take the little set of papers to the sewing machine and sew them with a straight stitch. Leave ends dangling.  I could have stitched straight onto the card. 5. I then adhered the shapes (with red tape as it was strong...

Anne of Green Gables

Image
Feeling nostalgic?  I visited Anne of Green Gables Museum, in Cavendish, Prince Edward Island (PEI), Canada on 21st June this  year. This layout inspired by Sketch 98 at Feeling Sketchy . I came across their blog as I was seeking inspiration for the multitude of photos I have from my recent holiday (vacation).  This little girl was visiting the same day as I did - she looked so peaceful as she posed for a photo under the tree outside the house that inspired Anne of Green Gables. I asked her mother for permission to photograph her.  The badges and hats I purchased in the museum shop and the journaling is on a card that one of the badges was on.  The paper I have used is from Project Life Collection -  Sunshine Collection.  I hand cut the banner from one of the pages in the range. I also did a companion page - this time using a postcard I purchased. Canada's smallest province features one of the country's largest tourist attractions....