Posts

Showing posts from October, 2014

How cute are these!!!!

Image
As quick Christmas tag made with scraps that I had on hand.  Whoops, need to sand those edges on the buttons on the next one.....punch obviously needs sharpening.     

4 "G's" - Gesso, Gelatos, Glimmer and Guts.

Image
I have been trying to get mixed media into more of my work. Hence the "Guts" reference in the title.   I am a novice and I have relied a lot on checking out videos, blogs, websites etc to get my brain around working in this different style. Yesterday, I came across a video by Ashley Calder  which she calls messy painting.  I just had to have a try and here is my result: What is not entirely obvious in my photo is that I used old book pages as suggested by Ashley in her video - I think my book was not old enough to transfer the ink onto applied gesso. Here is a close up: I have also used Huey's Chevron Mask (used residue of old gelato for this) and Crafters Workshop Mini Houndstooth template (used impasto).   I am pleased with the result and even though there are things I could probably have done better, at least I had the guts to have a go..... Now to create a page with my efforts.   Thanks for looking,   Margaret :)

This was really a challenge.

Image
Another layout I completed today.  Again using a sketch from Scrapbook Challenges.  This sketch was a bit more left of field than others and I have challenged myself enormously to get this completed. I wanted to use the background paper and this became my source for the colours used.  I have so many photos of my USA holiday in May/June that I try to get layouts that enable me to use more than 1 photo.  Anyway, here is the sketch: I hope I have done the sketch justice.  Margaret :)

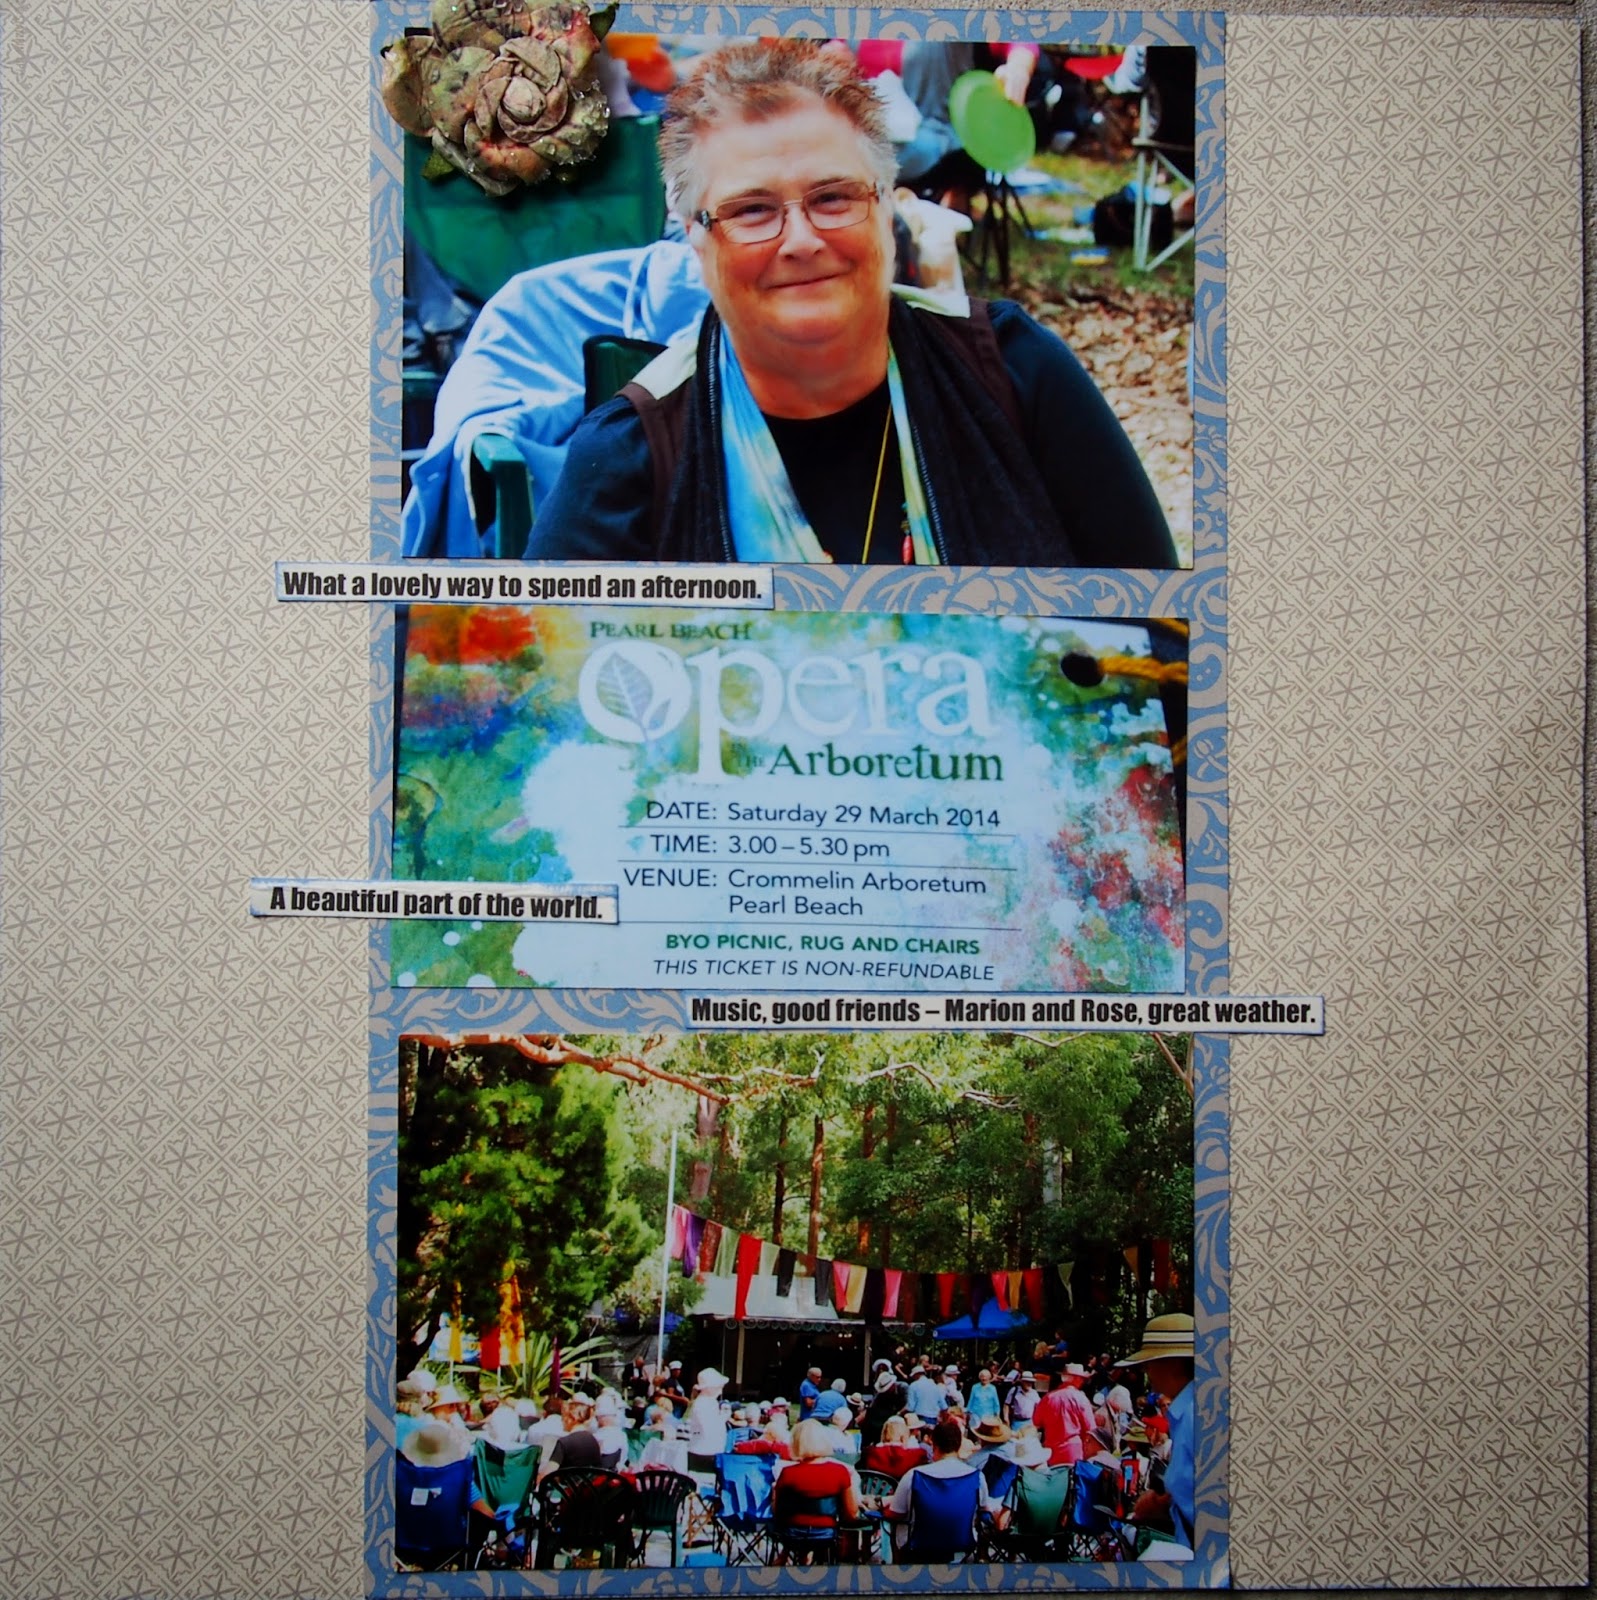
Opera in the Arboretum

Image
On 29th March, this year I went with friends - Marion and her granddaughter Rose, to Opera in the Arboretum, Pearl Beach, NSW.   Now I am not the biggest opera fan in the world but this was a great outdoor concert and a lovely way to spend an afternoon.  I was inspired by this sketch at Scrapbook Challenges :  My photograph of the ticket we each received and had to wear made just the right journaling block for this layout.   The flower at the top was necessary - I had half a man's face in my photo - scary!!! I liked this sketch a lot and may just turn around this afternoon and make more layouts - so many photos yet to get down on paper. Thanks for looking,   Margaret  :)  

Starburst cards from scraps

Image
I have made a lot of projects over this past weekend using papers from Stampin'Up! (r) In colour 2013-2015 Designer Paper Stack and I had a lot of scraps left over.   I found whilst blog surfing (if I remember I clicked "Next Blog" and the blog of Sharon Cheng , an SU demonstrator from US, came up and she had a tutorial on how she made starburst cards.   I have seen this type of card before and I thought "yes- that is what I need for my leftover paper".     So following Sharon's excellent video I made 4 cards this morning.   Now a word of warning - do not make with these papers if you have a migraine - as I had this morning - strobing etc.  But nevertheless I persisted and whilst if you look there may be some slight positioning I am not worried as the sun never shines perfectly does it? A bon voyage card.  Stamp Sets - The Open Sea and Remember This. Stamp Set Let Your Hair Down provides greetings for this card above and the next 2 cards. Thank

Down into Devil's Ice Box I went -> -> ->

Image
I decided to do a companion page for my layout yesterday.   I used a sketch from The Memory Nest  Make it Monday No 26.  I have used all Stampin'Up! (r) product on the page with the exception of alphas.   The final photo on the page is not me raising my hands in joy - I am actually touching the rock ledge above my head.  I inked the edges to try and give the impression of being in the cave....  Here are the two layouts together. I have kept continuity with the colours, papers, sponging and stamps I have used.   The cut-off from the scallop punch I used to draw the eye down the second layout. It is a beautiful day here on The Central Coast, I have been for my beach walk and a cup of tea and banana bread afterward at beach café, washing is all done and in the sun and I am inspired to do more scrapping today.   Thanks for looking,  Margaret

Another take on the Inksomanics sketch

Image
Inspired by the sketch in my previous post, today, I decided to turn the sketch into a scrapbook layout. This is a simple layout easy for anyone to recreate.   All supplies are Stampin'Up! (r), I have used Baked Brown Sugar (BBS) and Hello Honey papers and inks.  The edges have been sponged with BBS ink.  Stamp sets used are Draw the Line and Remember This. This photo was taken at the end of our walk into Devil's Icebox Cave near Colombia, Missouri, USA. I really think I was standing in a ditch as the sign makes me look so small!!! Thank you for looking,  Margaret

INKsomniacs Challenge Card

Image
These are a few of my favourite things - Strawberry Slush/Old Olive cardstock and inks, Wonderous Wreath stamp and die set, and scallop punch.  All supplies Stampin'Up! (r). This card was created for a challenge for Inksomniacs group. A little bit of history - I have never ever had success with word dies - I don't know how many I ruined or how many cards ended up with more glue on them than they should have.  Took it slowly this time! I going to have more play with this sketch - stay tuned, as they say.   Thanks for looking,  Margaret :)

I have never.....................

Image
I have never bungy jumped or jumped out of a plane but that is not the theme of the monthly challenge over at Jennibellie Journal Workshops.  The challenge given was and I quote "What have you never created with? What techniques have you never tested? What thing have you never got around to creating that you want to?"   I have never created my own paper buttons. Here are my jewels I created...... I recently started on Jennibellie's  Inspirational Station series. One of the first inspirational videos on how to create your own buttons from material that you would normally throw away - in my case it was corrugated paper from a box I received some goodies in and also scrap cardstock.  Some silver tissue paper that I had in the cupboard, inks, masks and some very old Mod Podge (It took ages to open that sucker of a lid) and even older Dimensional Magic. I played around with different types of inks.   It seems that most of the work I did with masks puddled when I added

Playing with Feathers!!!

Image
 No, I have not been out plucking chickens, turkeys, pigeons or any other feathered friends - I have been playing with Stampin'Up! (r) stamp set and die - 4 Feathers.  I found this technique, by Louise Beerens, on Feeling Sketchy blog.  It is called inlay die-cut.   I have also used Work of Art stamp set and ink colours Strawberry Slush, Coastal Cabana, Baked Brown Sugar and Stazon black ink.  To give the raised inlay effect I have used Vanilla Coaster Board (you could use a few layers of papers stuck together) and I got out my Crystal Effects that have lain idle for many a day.   This is a close-up of inlaid feather. These cards are my creative process to get to the design I loved - with the stamped feather as the focal point. Thank you Louise for your inspiration.   Have a great week everyone.   Margaret :)

Christmas inspiration

Image
I have seen versions of this type of card on Pinterest and Facebook and so I went in search of some instructions.  I just so happened that I wanted to make some cards with the new Wonderous Wreath stamp set and dies from  (SU) Stampin'Up! (r).   I want to thank Linda Bauwin, a SU demonstrator from USA,  who delightfully calls herself a card-iologist, for a great You Tube video.  Linda calls this type of card peek-a-boo as when you open it the greeting is under the wreath. I have gone for blues (Lost Lagoon and discontinued Baja Breeze) and silver for my card.   I have silver embossed the berries.  Today is the first day of daylight savings here in New South Wales, Australia - bring on summer. Thank you for looking.  Put a little sparkle in your day.   Margaret :)

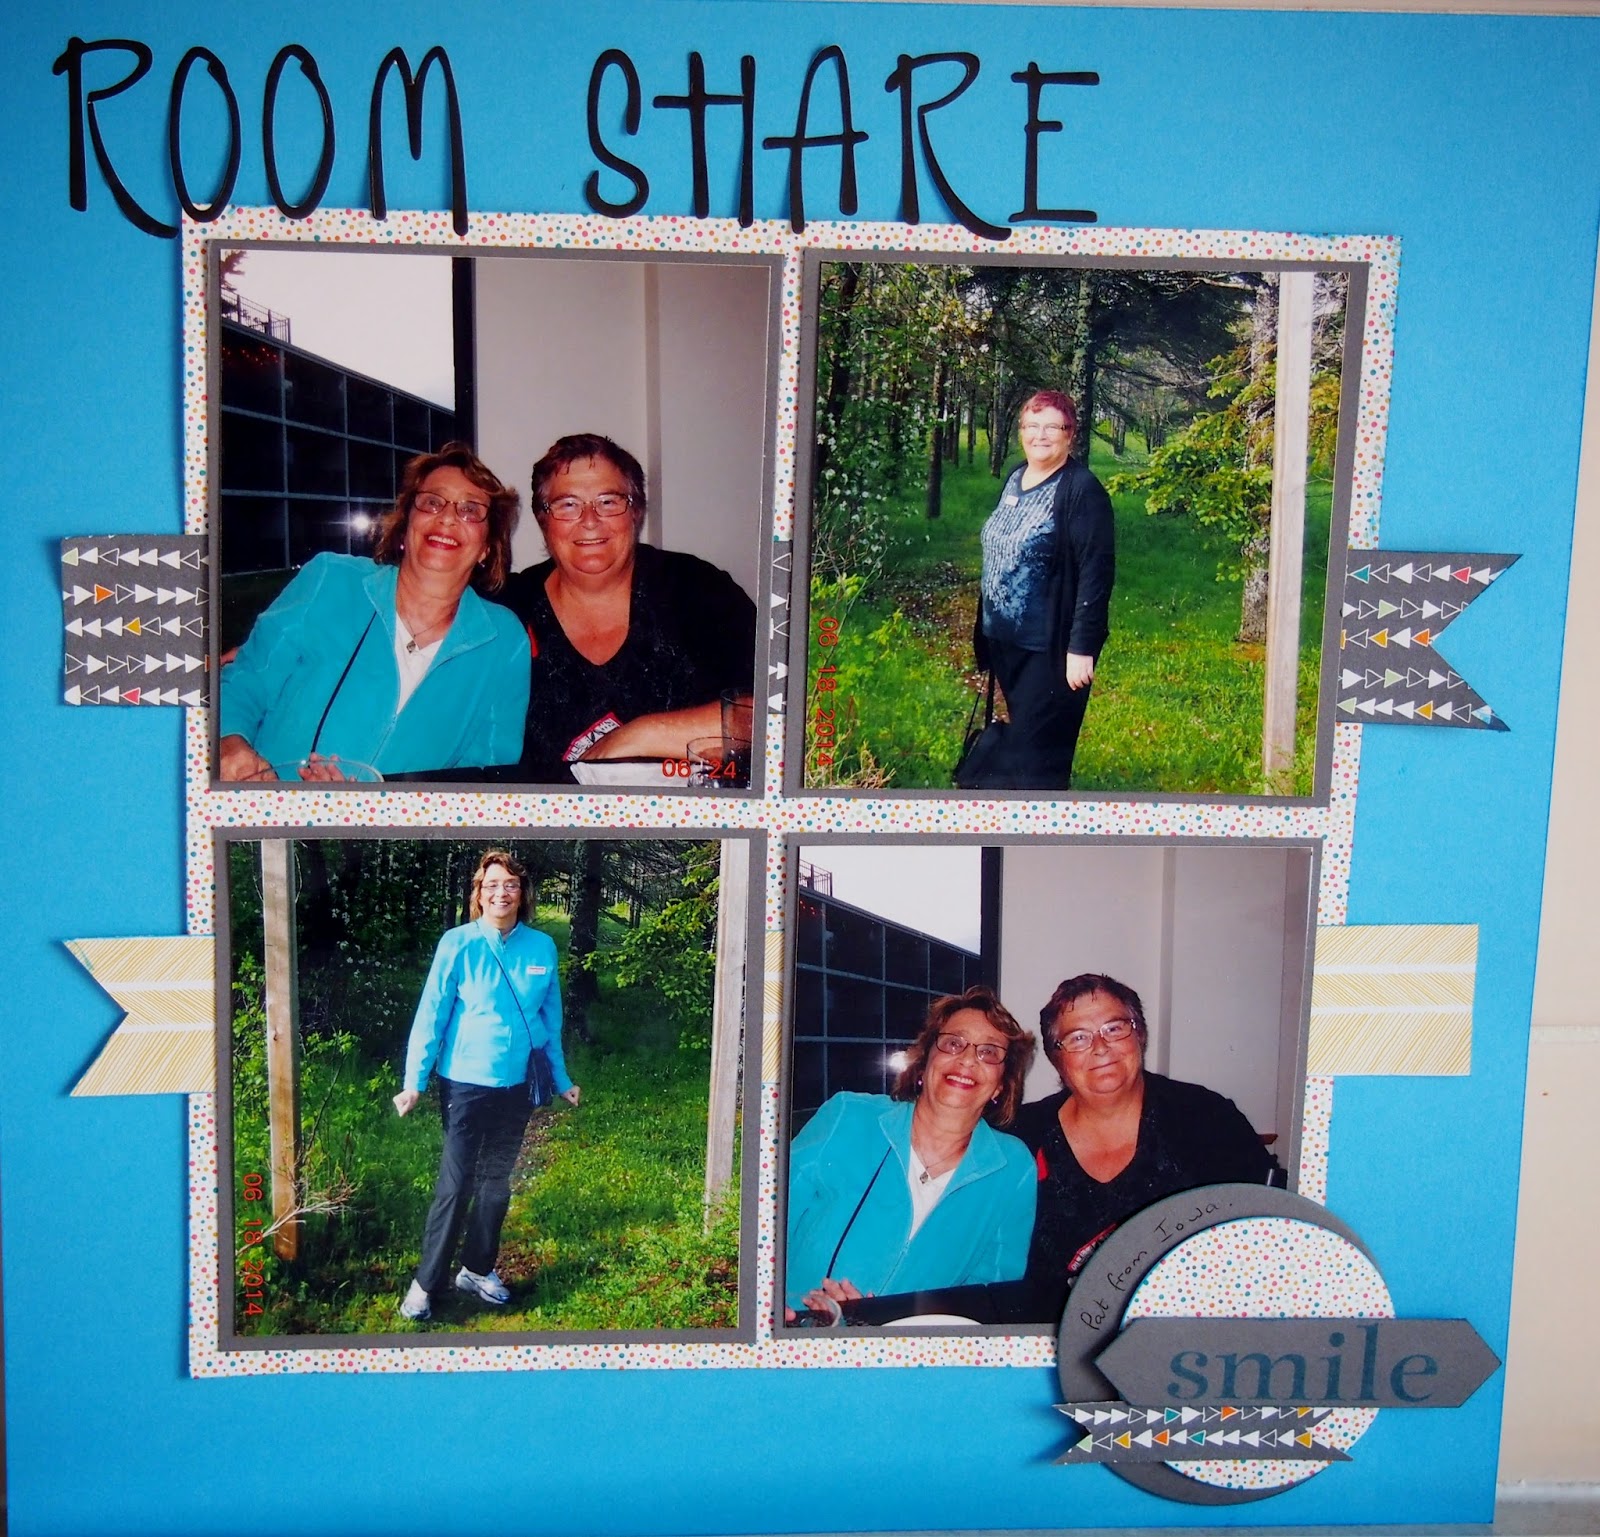
Smile - just in time to submit to The Memory Nest.

Image
When I travel on package tours I rarely take the single supplement and take the room share option.   Over the years I have had many room shares, however I must say on my Trafalgar Tour-Enchanting Maritimes that Pat from Iowa was one of the best.  She was friendly, loved a laugh and not at all a bother.  She sent me these photos.  I used this sketch from The Memory Nest  and all supplies excepting the title stickers are from Stampin'Up! (r).  The patterned paper is from Confetti Designer Series Paper, Coastal Cabana cardstock.  The photo does not show that I inked all the edges of the papers to give definition. "Smile" came from a retired set called Happy Day. Thanks for a great sketch - it really suited my style of scrapbooking.  Clean and simple with emphasis on the photos.   Having said that I like to get out of my comfort zone, so stayed tuned for more layouts shortly. Have a great day, thank you for smiling, Margaret :)